.svg)
10 Tips for Changing Engine Oil in a Four-Stroke Outboard
Changing the engine oil in a four-stroke outboard is an essential maintenance point that is also usually a straightforward task for the do-it-yourself boat owner. Quicksilver® offers the lubricant products, filters and tools you’ll need to do the job right on many outboard motor brands. Ready to change your oil? Here are some tips to help you get the job done.
1. Stay on Schedule
Keeping up with scheduled oil changes is important for maintaining the peak performance of a hard-working four-stroke outboard. Check the maintenance schedule in your owner’s manual. Most four-stroke outboards require an oil change either annually or every 100 hours of operation. It’s best to change engine oil when preparing the boat for long-term or offseason storage, even if your seasonal use is not near 100 hours. During operation, engine oil accumulates acidic combustion byproducts that can be harmful to internal engine components if left in the engine during storage. Your owner’s manual will also include oil-change instructions for your specific engine.
2. Use Genuine Marine Oil
Automotive oil definitely does not belong in the sump of your outboard motor. Always consult your owner’s manual for the exact oil type and viscosity specification for your model, but it’s almost certain the manufacturer will require oil that carries NMMA® FC-W® certification, a minimum standard for marine engines.
The line of Quicksilver premium marine lubricants includes FC-W certified 4-Stroke Marine Engine Oil for use with most leading outboard engine brands. Quicksilver oils are specifically formulated for the unique needs of the marine environment. Note that FC-W is a minimum standard. Top-quality oils such as Quicksilver products exceed those minimum standards and are tested and proven to provide industry-leading protection against rust and corrosion, to offer increased wear prevention and to have optimal viscosity retention – all properties you just won’t find in standard automotive engine oil.
3. Choose the Right Oil Filter
There’s no point in running fresh, clean oil through a dirty filter. Always replace the oil filter when you change the oil, and use a filter rated for marine duty. Quicksilver OEM-quality oil filters feature high pleat counts for maximum oil flow and superior filtration levels that meet or exceed all manufacturer standards. Powder-coated heavy-duty steel canisters won’t collapse or burst and feature an internal anti-corrosion coating to prevent rusting or flaking that could damage the engine. Quicksilver oil filters are designed to fit many Mercury®, Honda®, Yamaha®, Johnson® and Suzuki® four-stroke outboard applications.
4. Make it Easy with an Oil Change Kit
Quicksilver oil change kits for Mercury and Yamaha engines make gathering essential supplies much more convenient. They combine the required amount of Quicksilver 4-Stroke Marine Engine Oil and the correct Quicksilver oil filter for a given engine plus a drain plug seal and drain tube or drip tray (where applicable) in a single box that’s easy to buy and easy to store for future use. Complete instructions are printed right on the box.
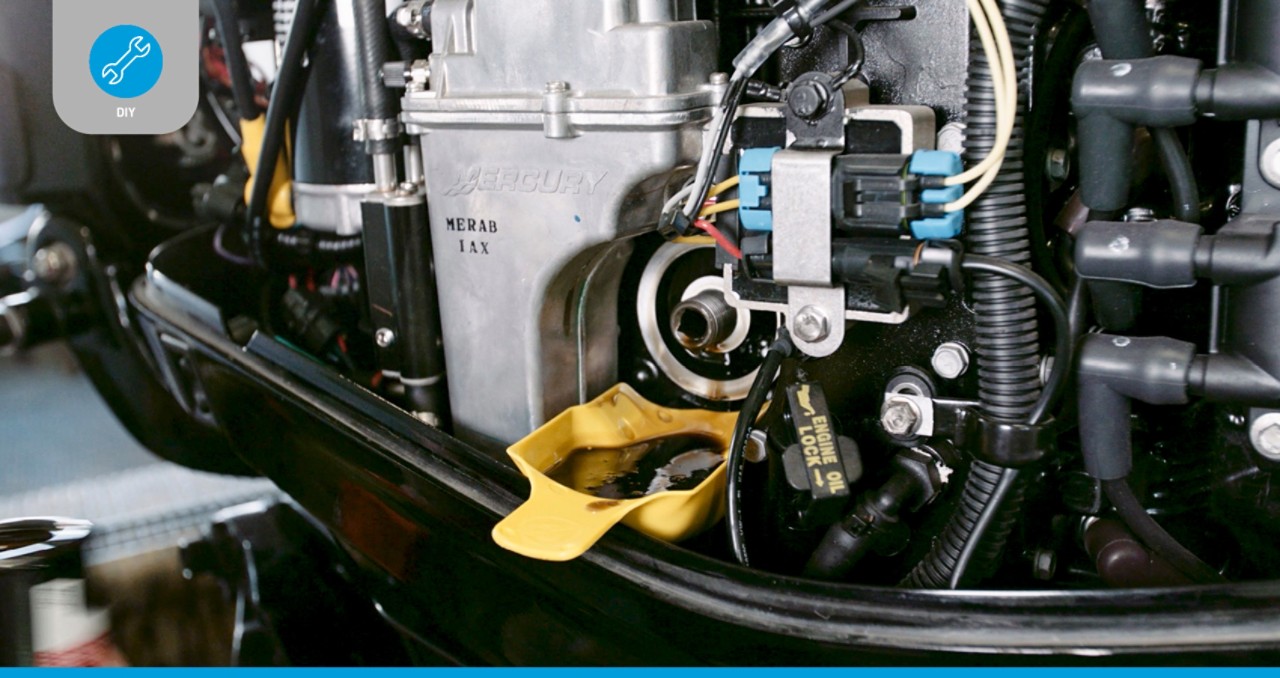
5. Warm the Engine Oil First
Warm engine oil drains more quickly and completely than cold oil. When possible, plan to change your oil shortly after retrieving the boat from the water, or consider running the motor on a flush hose for a few minutes before changing the oil (see your owner’s manual for flushing instructions).
6. Keep it Clean with an Oil Drain Pump
A Quicksilver oil drain pump threads directly to the dipstick tube of many outboard motor models and may be used to draw old oil from the sump, as an alternative to draining the oil. This method may allow you to complete an oil change with the boat in the water.
7. Use the Right Tools
A basic set of hand tools is about all you need to change the oil in most outboard models. However, a few specialty tools make the work more convenient. One is a Quicksilver® oil filter wrench, which can make it easier to remove the old filter and install the new one.
8. Don’t Double-Gasket
Occasionally, the oil filter O-ring gasket may stick to the engine block after the oil filter is removed. Always carefully check the engine’s filter sealing surface for the old oil gasket. If you “double-gasket” the new filter – screwing it on over the old gasket – it will likely leak oil and could cause engine damage.
Before installing a new filter, lubricate the O-ring gasket with a finger dipped in clean engine oil. This will allow the filter to seal against its mount without displacing the O-ring, which could also cause an oil leak.
9. Check for Leaks
After completing the oil change, start the engine – either in the water or on a flush hose (see your owner’s manual for flushing instructions) – and let it run for a few minutes. Then shut down the engine and check the oil level on the dipstick. Also check for any oil leaking around the oil filter. Starting the engine will circulate fresh oil through the engine before long-term storage.
10. Dispose of Your Waste Oil Properly
The final step is to make sure your waste oil is dealt with properly. Many automotive supply stores collect waste oil for recycling. Some community recycling centers also accept it. Make sure you bottle your waste oil properly – usually using the empty bottles from your new oil – so it doesn’t spill, then get it to a collection or recycling facility near you.
Quicksilver and Mercury are registered trademarks of Brunswick Corporation. All other trademarks belong to their respective owners.
Personal Watercrafts